
Table of contents
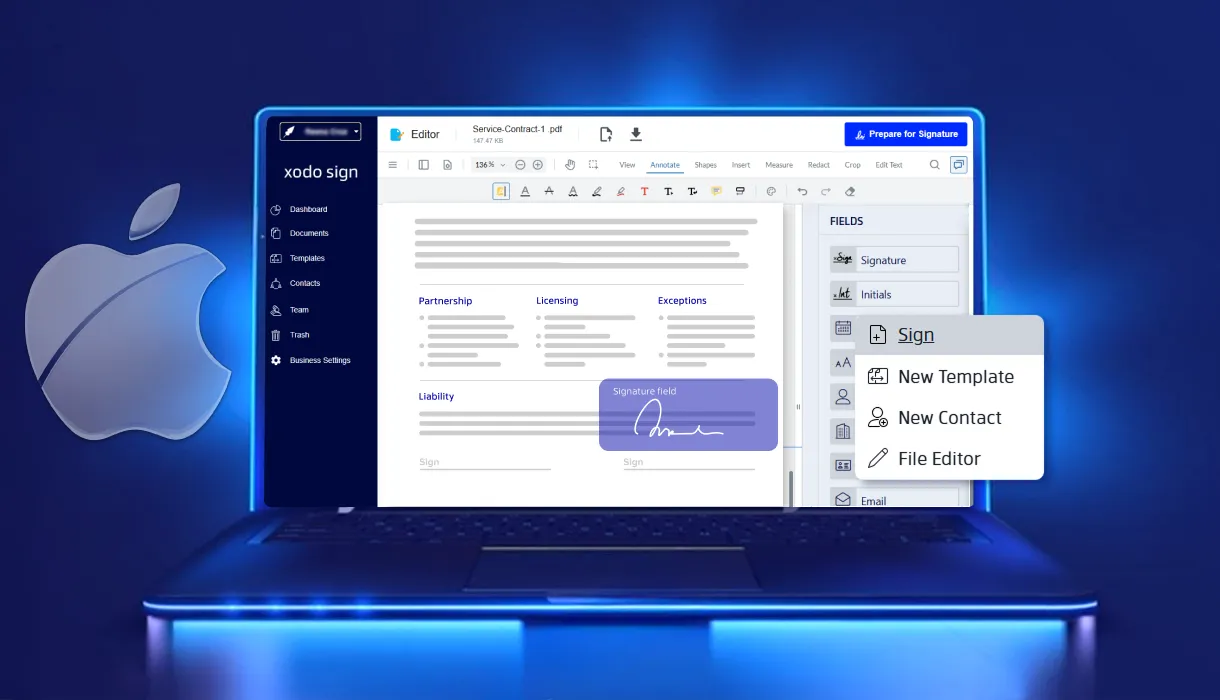
Sign and send unlimited e-signatures with Xodo Sign.
Tired of printing, signing, and scanning just to approve a document?
Signing PDFs on a Mac is fast, secure, and completely paperless. You can easily add your signature for free using built-in tools or choose a trusted e-sign platform for more advanced workflows.
This guide walks you through two free methods:
- Xodo Sign – a browser-based platform for e-signatures, team workflows, and compliance
- Preview – macOS’s built-in app for quick, one-person signatures
Let’s walk through both options and help you choose the right tool for your signing process.
How to sign a PDF on Mac with Xodo Sign
Xodo Sign is ideal for individuals and professionals who need compliant electronic signatures, detailed audit trails, reusable templates, and multi-signer workflows without installing extra software.
Follow these steps to sign a PDF on Mac for free with Xodo Sign:
1. Log in or sign up for a Xodo Sign account
- Log in to your Xodo Sign account.
- Sign up for a free account, if you don't have one already.
2. Upload your document
- From the Dashboard, go to Quick Actions > Sign.
- Drag and drop or click Choose Files to upload.
- Supported document formats include: PDF, DOCX, TXT, PNG, JPG, PPT).
- You can also upload from cloud storage or use a saved template.

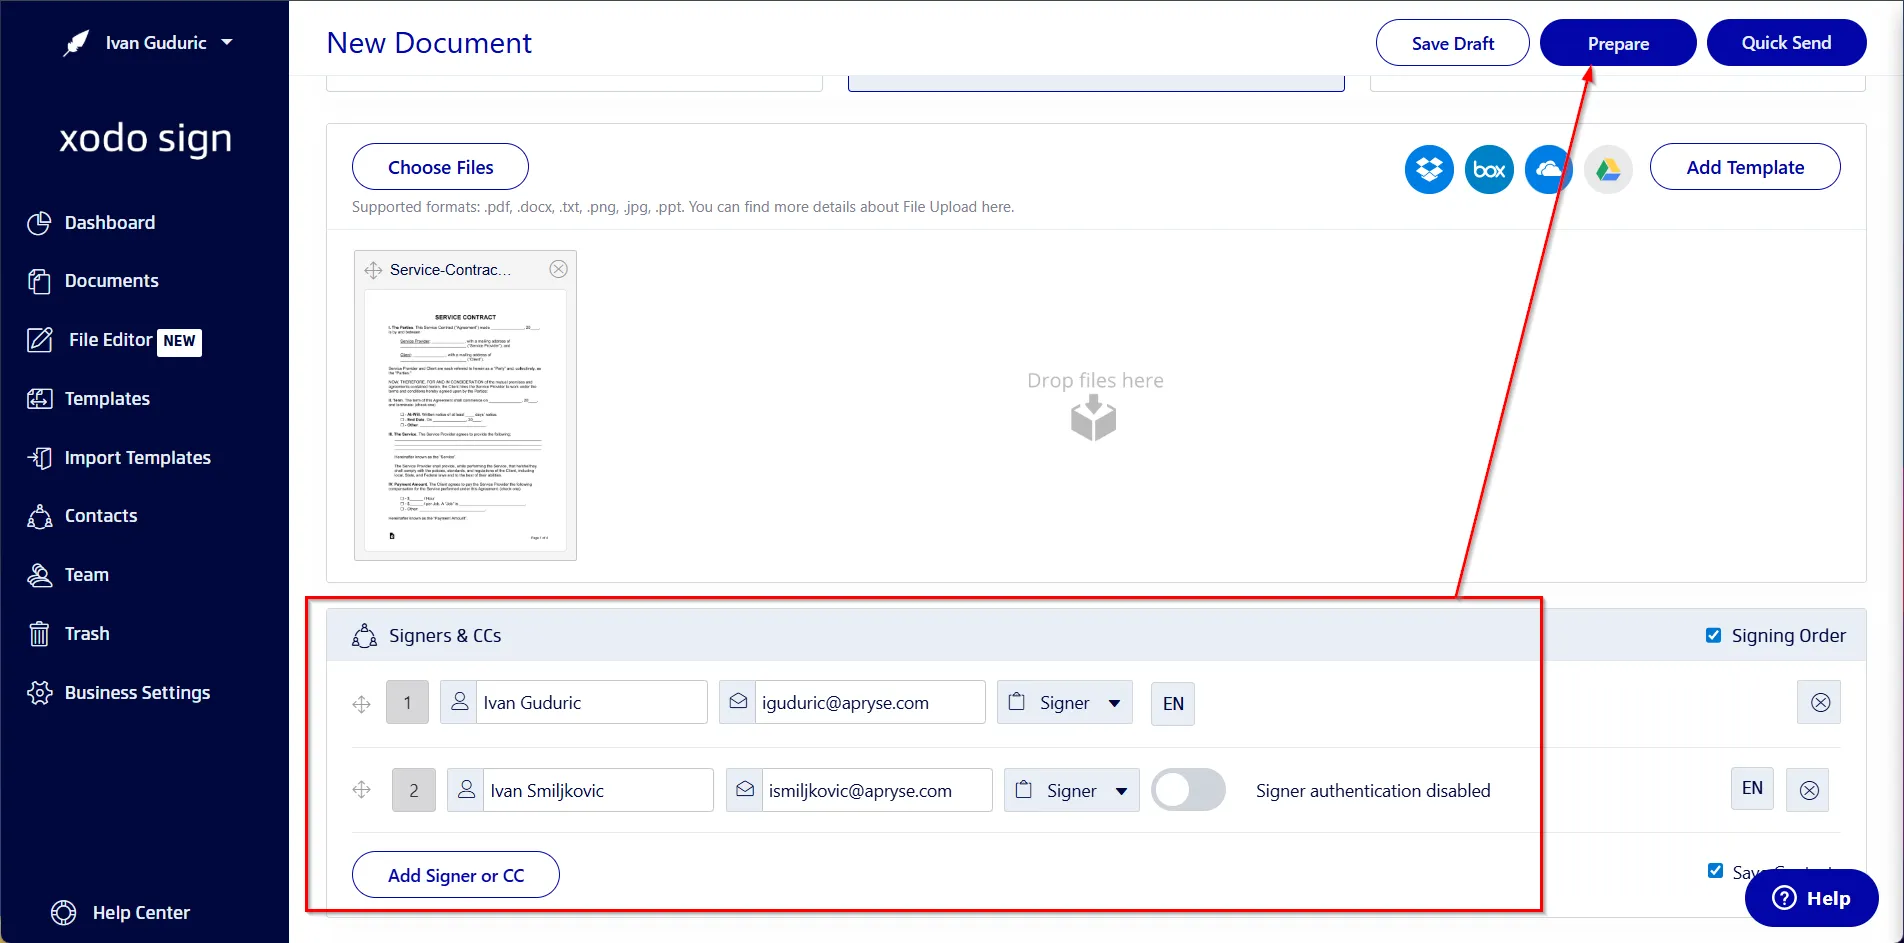
3. Add recipients and set options
- Choose who is signing: Me Only, Me & Others, or Others Only.
- Enter signer names and emails, and assign roles (Signer or CC).
- Enable Signing Order for sequential approvals.
- Turn on Signer Authentication for SMS or PIN verification.
- Add a Document Title and Message.
- Set auto reminders, require all signatures, and define an expiration date.
- Click Prepare.
4. Add signature fields and send
- Drag and drop a signature box, date, or text fields where needed.
- Add any other form fields as needed.
- Assign each field to a signer (right-click field > Assign to)
- When ready, click Send to email secure signing links.

5. Audit, track, and remind
- Monitor document status from your Dashboard.
- Send reminders to pending signers or modify requests.
- Download the signed PDF with a full audit trail including timestamps and IP addresses.
Tip: If you're working on a mobile device like an iPhone or iPad, see how to sign a pdf on iOS for specific instructions.
How to sign a PDF on Mac with Preview
Preview is built into every Mac computer and works well for simple, one-person signatures. It’s free, fast, and doesn’t require an internet connection.
Follow these four steps to sign a PDF on Mac for free using Preview:
1. Open the PDF in Preview
- Locate your PDF file in Finder.
- Right-click it > Open With > Preview.
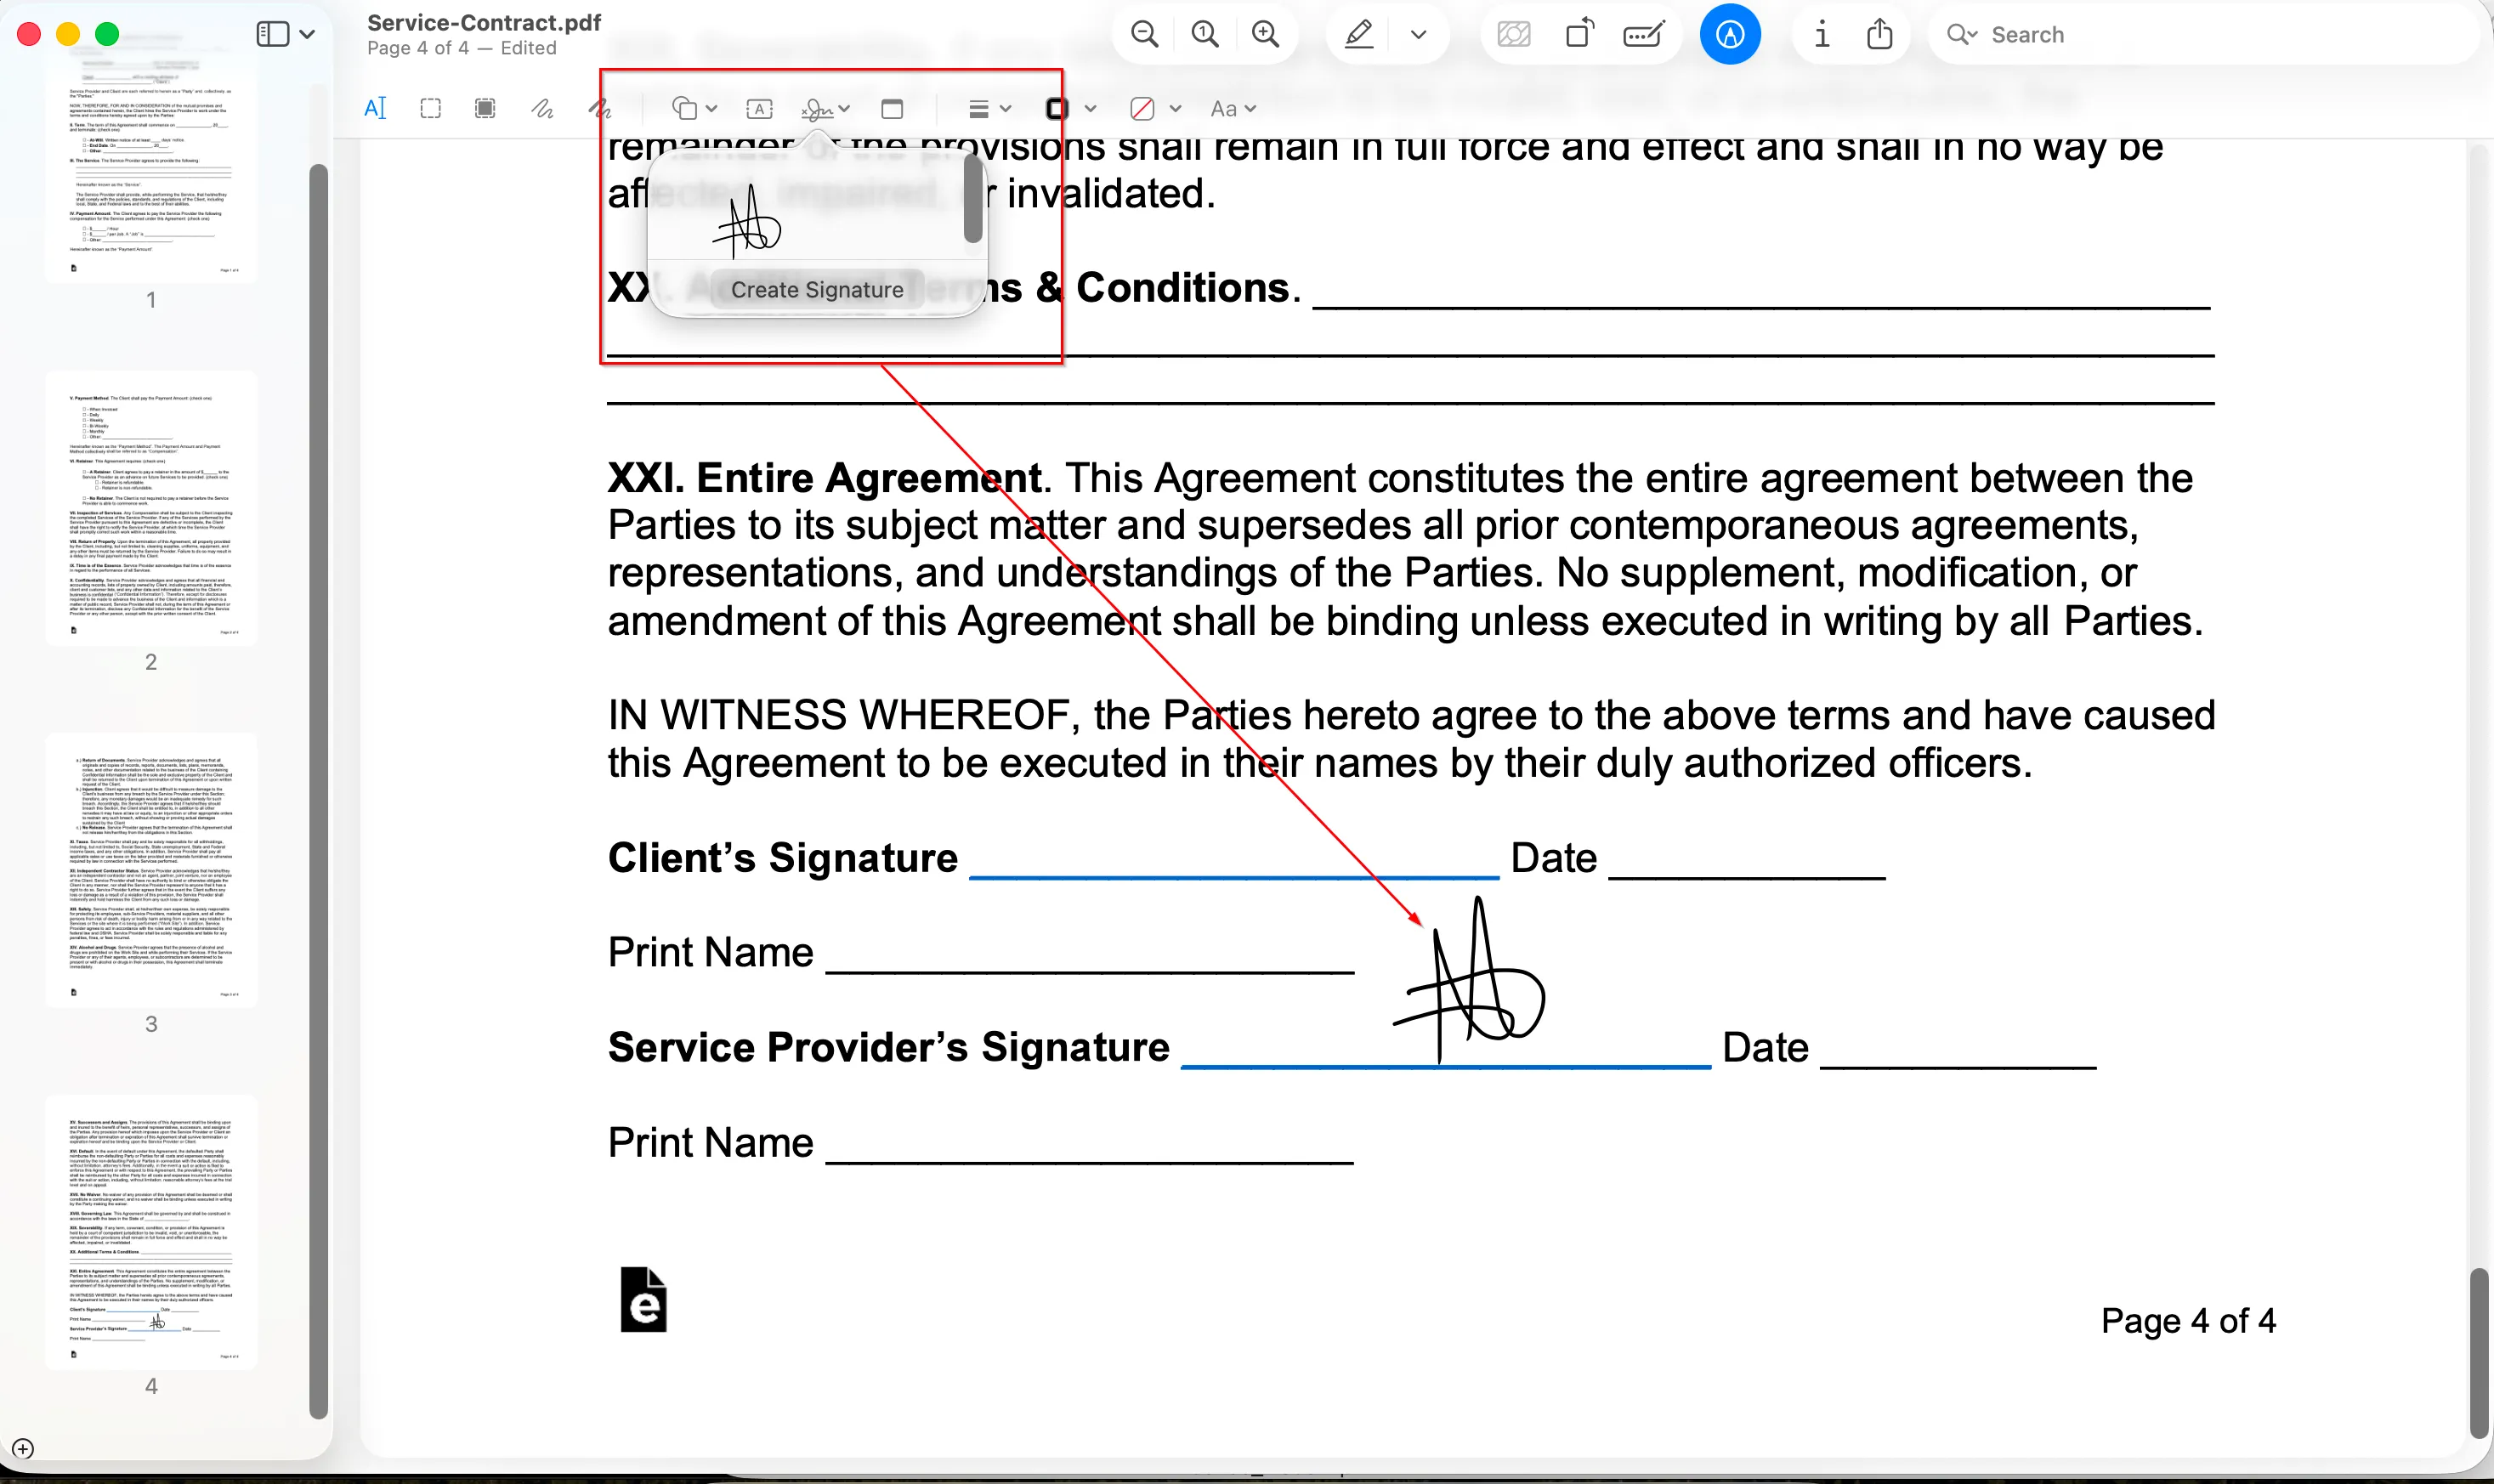
2. Create and apply your signature
- In the toolbar, select Markup (the pen tip icon).
- Click the Signature button.
- Draw your signature on the trackpad or use the built-in camera to scan a handwritten signature from an image file.
- Click Done.
- Place your saved signature on the document.
- Resize or reposition the signature box as needed.
3. Save or secure your signed PDF
- Go to File > Export as PDF to embed your signature.
- Click Show Details, enable Encrypt with Password, and set a strong password.
- Click Save to finalize.
4. Share or store your document
- Use File > Share to send via Mail, Messages, or AirDrop.
- You can upload to iCloud Drive or other cloud services for easy access.
Preview also supports basic editing, so you can fill out PDF forms, add text, highlight content, or rearrange pages before signing.
Tip: For more details, see Apple’s guide on how to fill out and sign PDF forms in Preview.
Why use Xodo Sign instead of Preview
Here’s a quick comparison of Preview and Xodo Sign features to help you decide which tool best fits your e-signature workflow:
Frequently asked questions
Find below answers to common questions about signing PDF documents on Mac, using Preview, and Xodo Sign.
How do I fill out a PDF form on Mac?
Use Preview to add text to form fields. For advanced form filling and editing, use Xodo Sign’s built-in PDF editor.
Am I able to write on a PDF with Xodo Sign?
Yes. You can add text, annotations, and comments directly in the document independently or before sending it for signature.
Can I verify a signature in PDF on Mac?
You can verify PDF signatures using Xodo Sign. Preview doesn’t support digital certificate verification.
Is signing a PDF on Mac legally binding?
Yes. Both Preview and Xodo Sign support legally binding electronic signatures under ESIGN (U.S.) and eIDAS (EU). Xodo Sign adds audit trails and encryption for added document security.
Can I sign multiple PDFs at once with Preview?
No. Preview only handles one document at a time. Use Xodo Sign for batch signing or bulk sending.
How do I update my saved signature in Preview?
Open the Markup toolbar, click the Signature icon, select Manage Signatures, and delete or replace your saved signature.
Can I edit a PDF before sending it with Xodo Sign?
Yes, you can use Xodo Sign to edit text, annotations, redact data, and fill out forms. All editing is done in one interface, no need for separate PDF editors.
Does Xodo Sign work offline?
No. You need an internet connection to upload, send, and track documents with Xodo Sign. You can prepare files offline and upload them later.
What if a recipient doesn’t receive my signature request?
Ask them to check spam folders. If needed, resend the request from your dashboard.
Can I sign a PDF on Windows?
Yes. You can use Xodo Sign. See our guide on how to sign PDFs on Windows.
Pick the best way to sign PDFs on Mac
Preview is enough if you're signing a personal document and just need a quick signature.
Xodo Sign is the better choice if you're working with business documents and need features like audit trails, signer authentication, reusable templates, and automated reminders.
Start your free trial and explore all Professional plan features (credit card not required).


.webp)